Forms is a web-only app in Office 365 that you can use to create forms, surveys, and quizzes. Penn State students have access to a variety of Office 365 apps, and you can also create forms in OneDrive, Excel, and OneNote. However, the Forms app is designed to give you a really quick and easy option.
How You Might Use Forms in Your Courses
There are many situations in which Forms might be a helpful tool for tasks related to your courses. Let’s say you are doing a report on creative nonfiction for an English composition course, and you want to get an idea of your classmates’ familiarity with the writing style.
You can use Forms to create a survey, and perhaps your first question would be something like this:
Are you familiar with the term “creative nonfiction?”
This would be a question with a “yes” or “no” answer, but you could then use the branching feature to ask follow-up questions. If someone answered “yes,” you might then ask if they have any experience writing in this format.
Staying with this hypothetical example, you could ask people about how much they enjoy reading/writing creative nonfiction, using a rating scale.
You could also ask a multiple choice question asking them to identify their favorite example of creative nonfiction from among the assigned works you have read as part of the course.
Here’s a quick guide to some of the most useful features of this tool.
Question Format Flexibility
You have several options for the format of your questions in Forms, including Choice, Text, and Rating.
- Choice questions ask your form users to choose from a list of options you provide. As you create your form, the Forms interface may suggest possible answers related to keywords in your questions.
- Text questions ask users to enter a text answer. You can set restrictions for possible answers, such as requiring the answer to be a number or to be within a certain range of numbers.
- Rating questions ask users to provide a rating either in stars or numbers. You can set ratings scales to go as high as 10 stars or numbers.
Visual Elements
You can choose from available “themes” to change the look of your form, or import an image of your own to use as a background. You can also add a logo or image to the form’s header, and you can add an image or even a video to a specific question.
The Preview option at the top of the design window lets you see how your form will look. You can also see how your form will look on a mobile device.
Form Submission Control
By adjusting your form’s settings, you can restrict who can complete your form and whether the form will record each user’s name, choose whether to shuffle questions, and establish the start and end dates when people can submit responses to your form. You can also choose to send email receipts and to be notified via email whenever someone submits the form.
Branching Questions
One great feature of Forms is a function known as “branching.” This means the structure of the form changes based on certain actions taken by the person completing it. So answering one question a certain way may trigger additional questions to pop up and become visible, whereas they may remain hidden in other situations.
Copying Capability
Need to make more than one similar form? Save time by copying an existing form, which you can then edit and update. Only the design and structure of the original form will be copied, not any responses or data that may have been submitted.
The Forms app will give this copied form a name that’s a slightly adjusted version of the original form name, but you can change that to any name you choose.
Easy Form Sharing
Once you have finished creating your form, you will need to share it with people who will complete it with their responses. Options for sharing include:
- Sending an invite via email
- Providing a link where people can access the form
- Embedding the form or quiz directly into a web page or blog post
- Creating a QR code that people can scan with their mobile devices
Response Summaries
When you’re ready to view the submitted responses to your form, you can either see a summary of general response data, or the answers for individual questions. You also have the option to export this data into Excel.
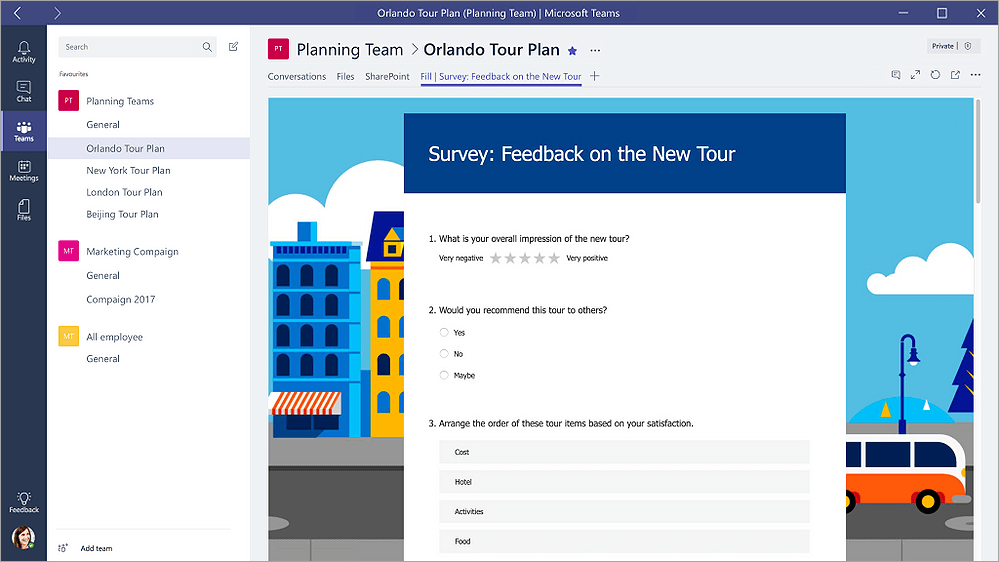
Collaboration via Teams
You can collaborate with other people and work together to create a form by using the Forms tab in the Teams app within Office 365. You may need to add a Forms tab within the team you are working in, if one is not already part of that team’s channel.
How to Use Forms
For additional information and training guides for Forms, view the Forms Learning Path from Penn State IT Learning and Development.
Specific guides are available to help you:
- create a form
- customize and manage your form
- share a form
- access form results
- collaborate with others on a form
Privacy and Personal Information
Important reminder: Office 365 and its applications are not approved by Penn State for the storage of private or sensitive information. You should not gather or store personal or confidential information in Forms or any other Office 365 application. Please contact security@psu.edu with any questions.
Other Office 365 Apps
Through Office 365, Penn State students can create and collaborate with other students using a variety of apps and tools designed to work together seamlessly. You can create and save various types of files, organize and share them with others, and access everything conveniently by logging in to Office 365 with your Penn State Access Account.
Learn more about Office 365 and the apps it includes at the Penn State Office 365 website.